The Pattern Room · a measuring pattern
Making a paper template a cushion workshop can actually use
Some seats won't hold still for a tape measure: curves, kinks, a bay nobody built square. Paper holds the shape. Your numbers make it readable.
 Save
The quick answer
A cushion template is a full-size paper tracing of the seat, marked top side up, with the wall edge, two measured reference lines and every edge length written on it. Photograph it flat with a tape measure in the frame and send the photos; the workshop doesn't take templates by mail. For most straight-sided shapes, a measured drawing is enough.
Paper for curves, numbers for everything else
A tape measure is honest about straight lines and no help at all around a curve. That's where a cushion template earns its keep.
Here's the part most measuring guides skip: the workshop never sees your paper. Templates are photographed and dimensioned, not mailed. Your photo plus your numbers becomes a clean, redrawn diagram that you approve before anything is cut.
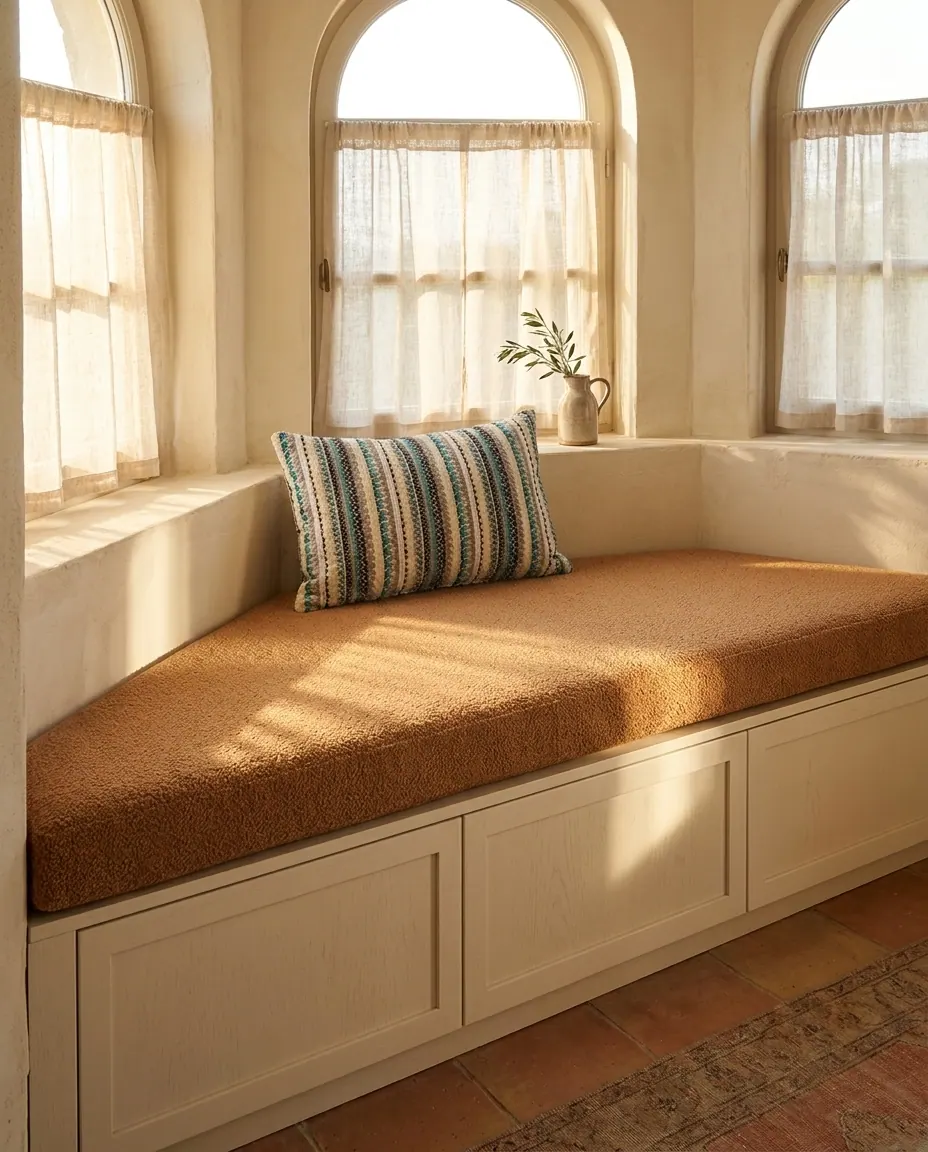
So the job isn't only tracing. It's tracing in a way a stranger can scale from a photograph. The steps below are built for exactly that, whether the seat is a curved banquette, a lopsided bay window seat or a trapezoid that almost closes.
Do you need a template at all?
Often, no. For straight-sided shapes, a hand drawing with every edge measured and labeled A, B, C does the job, plus a photo of the seat. Angles are just lengths in disguise: give every edge and both diagonals, and the geometry takes care of itself. The custom shape drawing guide shows the format.
Reach for paper when:
- the seat has a curve you can't describe as a chord and rise
- the outline is asymmetric, like a bay that was never built square
- notches sit around posts, legs or casings in awkward spots
- you'd rather trace once than measure twenty times
Strong kidney or banana curves may still be declined after the craftsmen review the photos, when a precise fit can't be promised. Better an honest no than a near miss.
Eight steps to a template that survives a photograph
Cover the seat with one flat sheet
Use kraft or builder's paper wider and deeper than the seat. Tape sheets together edge to edge so the outline can't shift. Lay it flat; wrinkles lie about length.
Tape it down and crease every corner
Tape the paper to the seat so it can't slide. Run a thumb into each corner and along each wall until the paper folds sharply. The crease is your line, not your guess.
Trace the outline and tick where curves begin
Follow the crease with a pencil held upright. Put a tick where each curve starts and where it ends. Draw notches for posts, legs or casings with their width, depth and position along the edge.
Write TOP SIDE UP and mark the wall edge
Draw the shape as seen from above while standing in the room, and mark the wall edge and the front edge. A non-slip base makes a cushion one-sided, so a mirrored template gives a cushion that fits only upside down.
Pattern sheet Lay paper on the seat and trace the edge, write the widest width and the front-to-back depth on the template, then photograph it flat from directly above with a tape measure in the picture. Rule two long reference lines
Draw one straight line across the widest span and one depth line at 90 degrees to it. Measure both and write the lengths on the lines, to the nearest 1/8 in (3 mm). They let the workshop scale the photo and check its own drawing.
Put a number on every edge
Label edges A, B, C and write each length, short straight returns included. Take depth at both ends and in the middle. For a curve, add its chord and its rise: the gap from the middle of the straight line to the arc.
Photograph it flat with a tape in the frame
Lay the template on the floor and shoot from straight above, whole sheet in view, with a tape measure lying along one reference line. Add close-ups of each curve start and each notch. A 4 in (10 cm) square drawn in one corner is a free scale check.
Send the photos, keep the paper
Attach the photos to the order or send them in the message thread, with the numbers typed out as well. The workshop redraws a clean diagram and waits for your approval before cutting. Keep the paper until the cushion is on the seat.
Have it made
Measured it? Have Nate’s workshop make it
Send the numbers in inches: length × depth × thickness, plus any angle. The workshop checks them with you, because foam has no undo button. — Nate
Leave your details and the workshop will call you to confirm measurements, fabric, foam and piping. No prices, dates or payment on this page: it is a request, not an order.
Key facts
- Templates are photographed and dimensioned, not mailed; the workshop redraws a diagram from the photos for approval before cutting.
- A full-size paper template is the most accurate measurement for a curved banquette or an asymmetric bay.
- Straight-sided shapes rarely need paper: a drawing with every edge and both diagonals measured is enough when the numbers close.
- The template must show the seat from above while standing in the room, because a non-slip base makes a cushion one-sided.
- Mark where each curve begins and ends; that is the first detail the workshop asks for.
A curved banquette, about 19 in deep, traced in one piece
A family in the US had a curved built-in kitchen banquette and a toddler who used it every day. They wanted one continuous cushion following the curve instead of three separate pieces: about 19 in (48 cm) deep and 3 in (7.5 cm) thick, firm foam with a softer wrap, and a cover that could survive a toddler.
They had already made a full-size paper template. The workshop's reply was two requests: photos of the template, and measurements marked on it, especially where the curves begin.
That was the whole job. The curve lived on the paper; the numbers told the workshop how big the paper was. The build confirmed was 32 kg/m³ foam (about 2.0 lb/ft³) with a fiber wrap, under a cover that machine-washes at 86°F (30°C). A performance fabric was requested for the spills.
For a curved banquette, a full-size template is the most accurate measurement you can give. Very long curves can also be made as matching segments that join cleanly and are easier to wash.
When the numbers close, skip the paper
A designer in the US sent a bay seat as four numbers: 106 in front, 56 in back and two 35 in diagonal ends (269, 142 and 89 cm). The workshop checked the arithmetic first. Half the difference between front and back is 25 in; with a 35 in side, the depth works out to about 24.5 in (62 cm). The numbers closed, so photos and measurements were enough.
Another US family gave a trapezoid bench as about 88.5 in on top, 126 in at the bottom, 26.5 in on each slanted side and 19.25 in deep. Run the same check and those sides allow only about 18.7 in of depth. Half an inch that doesn't exist. The workshop redrew the shape and asked for a paper sketch before quoting.
That's the test, partner: when your edges and your depth disagree, a template settles the argument. The trapezoid cushion calculator and the bay window calculator run the check for you. In older houses, add both diagonals as a cross-check; corners are rarely square, so the workshop cuts from the wall edges and aims for about ± 1/4 in.
Old covers make a decent pattern, if they stay home
Buyers often offer to mail an old cover as the pattern. Don't. Covers and templates aren't taken by mail; the workshop works from photos and numbers.
For a rectangular zipped cover, the sizes alone are enough: covers of about 23.5 x 23.5 in and 23.5 x 13 in (60 x 60 and 60 x 33 cm) are made straight from the numbers. For a shaped cover, lay it flat, trace it onto paper and treat the tracing like any other template, tape in frame.
One caution. An old cover records the shape the last cushion had, which isn't always the seat you have. Trace the seat too if you can, and send both. Where they disagree, the seat wins. Covers for foam you already own have their own Pattern: cushion covers for existing foam.
What's the one edge on your seat you'd least trust a tape measure with?
Common template mistakes
- Describing a subtle curve with numbers alone, so it reads as square.
- Sending a style photo instead of your own outline; the photo suggests a shape your size doesn't make.
- Tracing from underneath, so the cushion fits only upside down.
- Measuring an angled side shorter than the straight depth. An angled side is always longer.
- Leaving off short straight returns, so the steps don't add up to the long edge.
- Tracing without ticking where each curve begins and ends.
- Photographing the template at an angle, with no tape in the frame to scale it.
- Writing a two-number size for a round cushion instead of 'round, diameter X in'.
A cushion template is photographed, not mailed: lay the paper flat, put a tape measure in the frame, and write two long measured lines on it.
Nate Kowalski
The label checklist for a template photo
- Top side and front edge marked with arrows
- Zipper edge marked with a hatched line
- Tie positions marked with an X and the tie length
- Finished thickness written on the paper
- How many cushions this template makes
- For a back cushion: the seat cushion's thickness already taken off the bottom
- Folded in half once to check both sides match
- Photographed straight down, with a tape measure along two edges
Buyer questions: tracings, curves and notches
- A common question
Do I have to make a paper template, and should I mail it to you?
The workshop's answerNo to both. A simple drawing with every edge measured is enough for most shapes, and photos plus measurements work for angled ones. If you do make a full-size template, or want to copy old covers, send clear photos or a digital file in the chat or with the order, measurements marked, especially where curves begin. From a CAD drawing, the workshop redraws its own diagram for you to confirm.
- A common question
How do I order a cushion that isn't a rectangle?
The workshop's answerUse the custom-shape listing, not the rectangle one. Pick the size range by the longest length and the deepest depth; those set the price bracket only. Upload a drawing with a measurement on every edge and a photo of the seat, and put thickness and fabric code in the personalization box. The cushion is cut to the drawing, and each distinct shape is its own order.
- A common question
How do I measure a curved bench, like a fire pit bench or a round sofa section?
The workshop's answerMeasure the inner curve along the front and the outer curve along the back with a flexible tape, or lay a string along each and measure it flat. Add the straight end-to-end distance and the depth at both ends and in the middle. For pie-slice segments, add the curve depth from the middle of the straight line to the arc. Tracing onto paper or cardboard works too.
- A common question
What's the best way to send measurements for an oddly shaped bench?
The workshop's answerA photo of the space and a hand sketch with every dimension written on it; labeling the sides A, B, C works well. For a back cushion, add the wall height above the seat. Mention trim or wood that sticks out, and give the narrowest and widest points if the space is uneven. The workshop asks about any missing side and sends back its own drawing for your OK before production.
- A common question
Can the cushion be cut around a post or the bench legs?
The workshop's answerYes. Mark each notch's width, depth and position along the edge, and add a few wide-angle photos. The workshop redraws it as a template and asks you to confirm before cutting. If the notches sit on the back edge, say so, because the zipper runs along the back.
Template questions, with tolerances
What should a cushion template be traced on?
Anything large, flat and able to hold a crease: kraft paper, builder's paper or cardboard. Tape sheets together so the outline can't shift, and make the sheet larger than the seat so every edge and corner lands on the paper.
Should the template show the seat from above or from below?
From above, as you see it standing in the room. Write 'top side up' and mark the wall edge. A cushion with a non-slip base is one-sided, so a template traced upside down gives a cushion that fits only with the grip on top.
Can every curve be made from a paper template?
Most can. Very strong curves, such as kidney or banana shapes, or seats with too many curves, may be declined after the craftsmen review the photos, when a precise fit can't be promised. Long gentle curves are often made as matching segments.
How thick should a cushion for a curved bench be?
About 2 to 3 in (5 to 8 cm) is the usual recommendation for curved benches. The curved banquette in this Pattern used 3 in (7.5 cm) of firm foam with a softer wrap, which suits daily family use.
Where does the zipper go on a shaped cushion?
On the back edge facing the wall, or underneath, and you choose. Mark the wall edge on the template so the zipper lands there. If notches or posts sit on that back edge, say so in the order note.
What should I write on a cushion template before I photograph it?
Mark the top side and the front edge, where the zipper should go, where any ties sit, the finished thickness and how many cushions the template makes. Fold it in half to check that both sides match. Then lay it flat with a tape measure along two edges and photograph it straight down, since paper templates aren't sent by post.
Does a back cushion template need the seat thickness taken off?
Yes. A back cushion sits on top of the seat cushion, so a template traced on the wall from the bare seat up must lose the seat cushion's thickness at the bottom; template services cut back cushions exactly that way. With a 4 in seat and a 21 in traced back, the finished back cushion is 17 in tall.