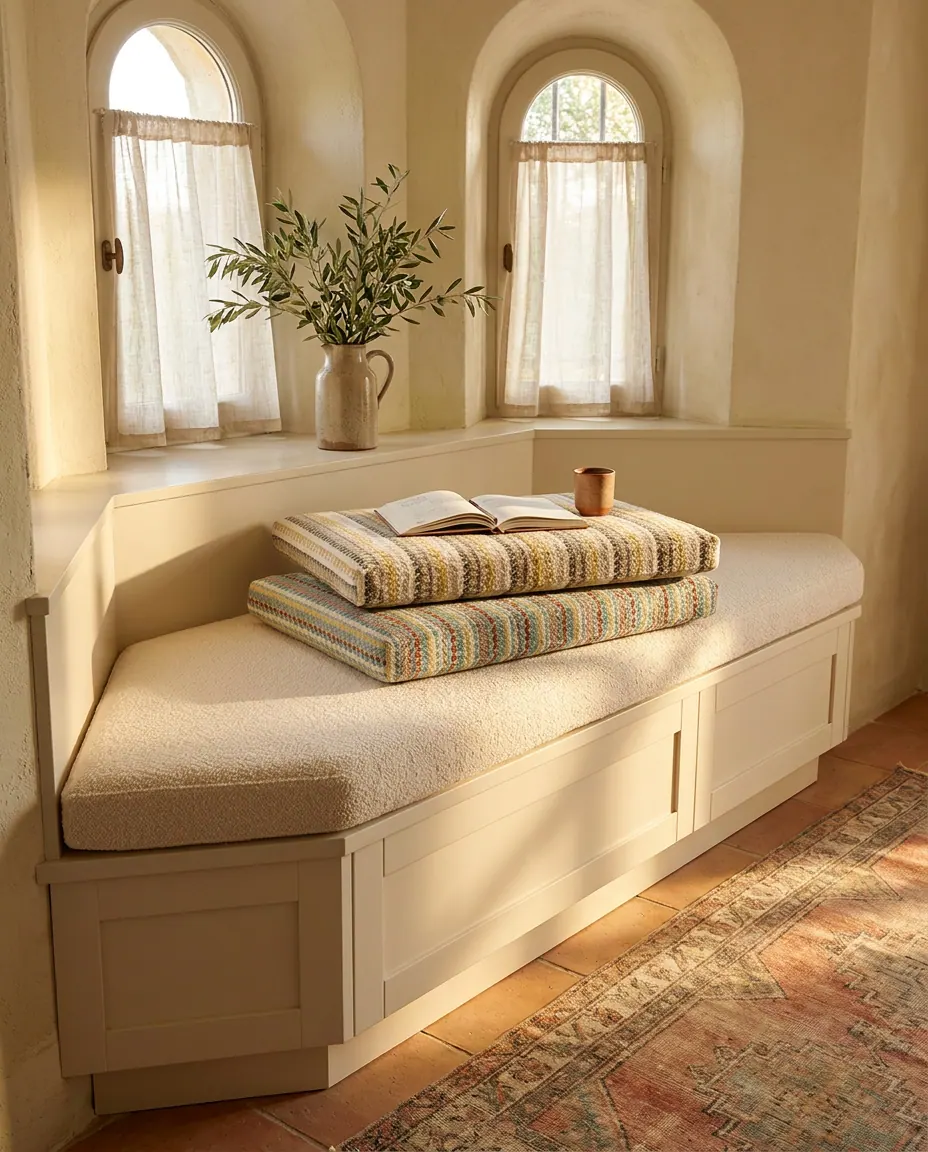
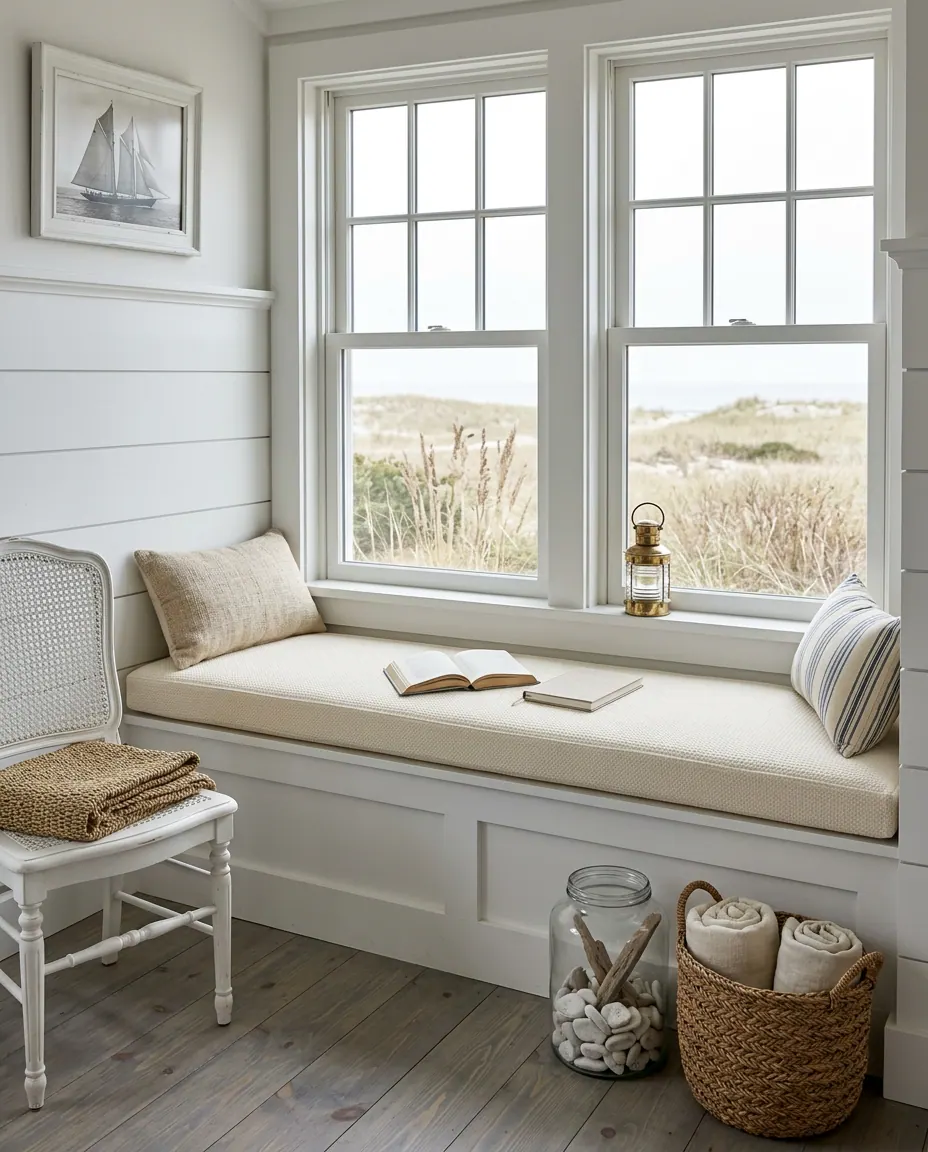
The Pattern Room · a measuring pattern
How to measure a window seat cushion when the walls aren't square
Old houses settle, and their window seats settle right along with them. Two widths, three depths and one honest note about the crooked end will get you a cushion that sits flat the first time.

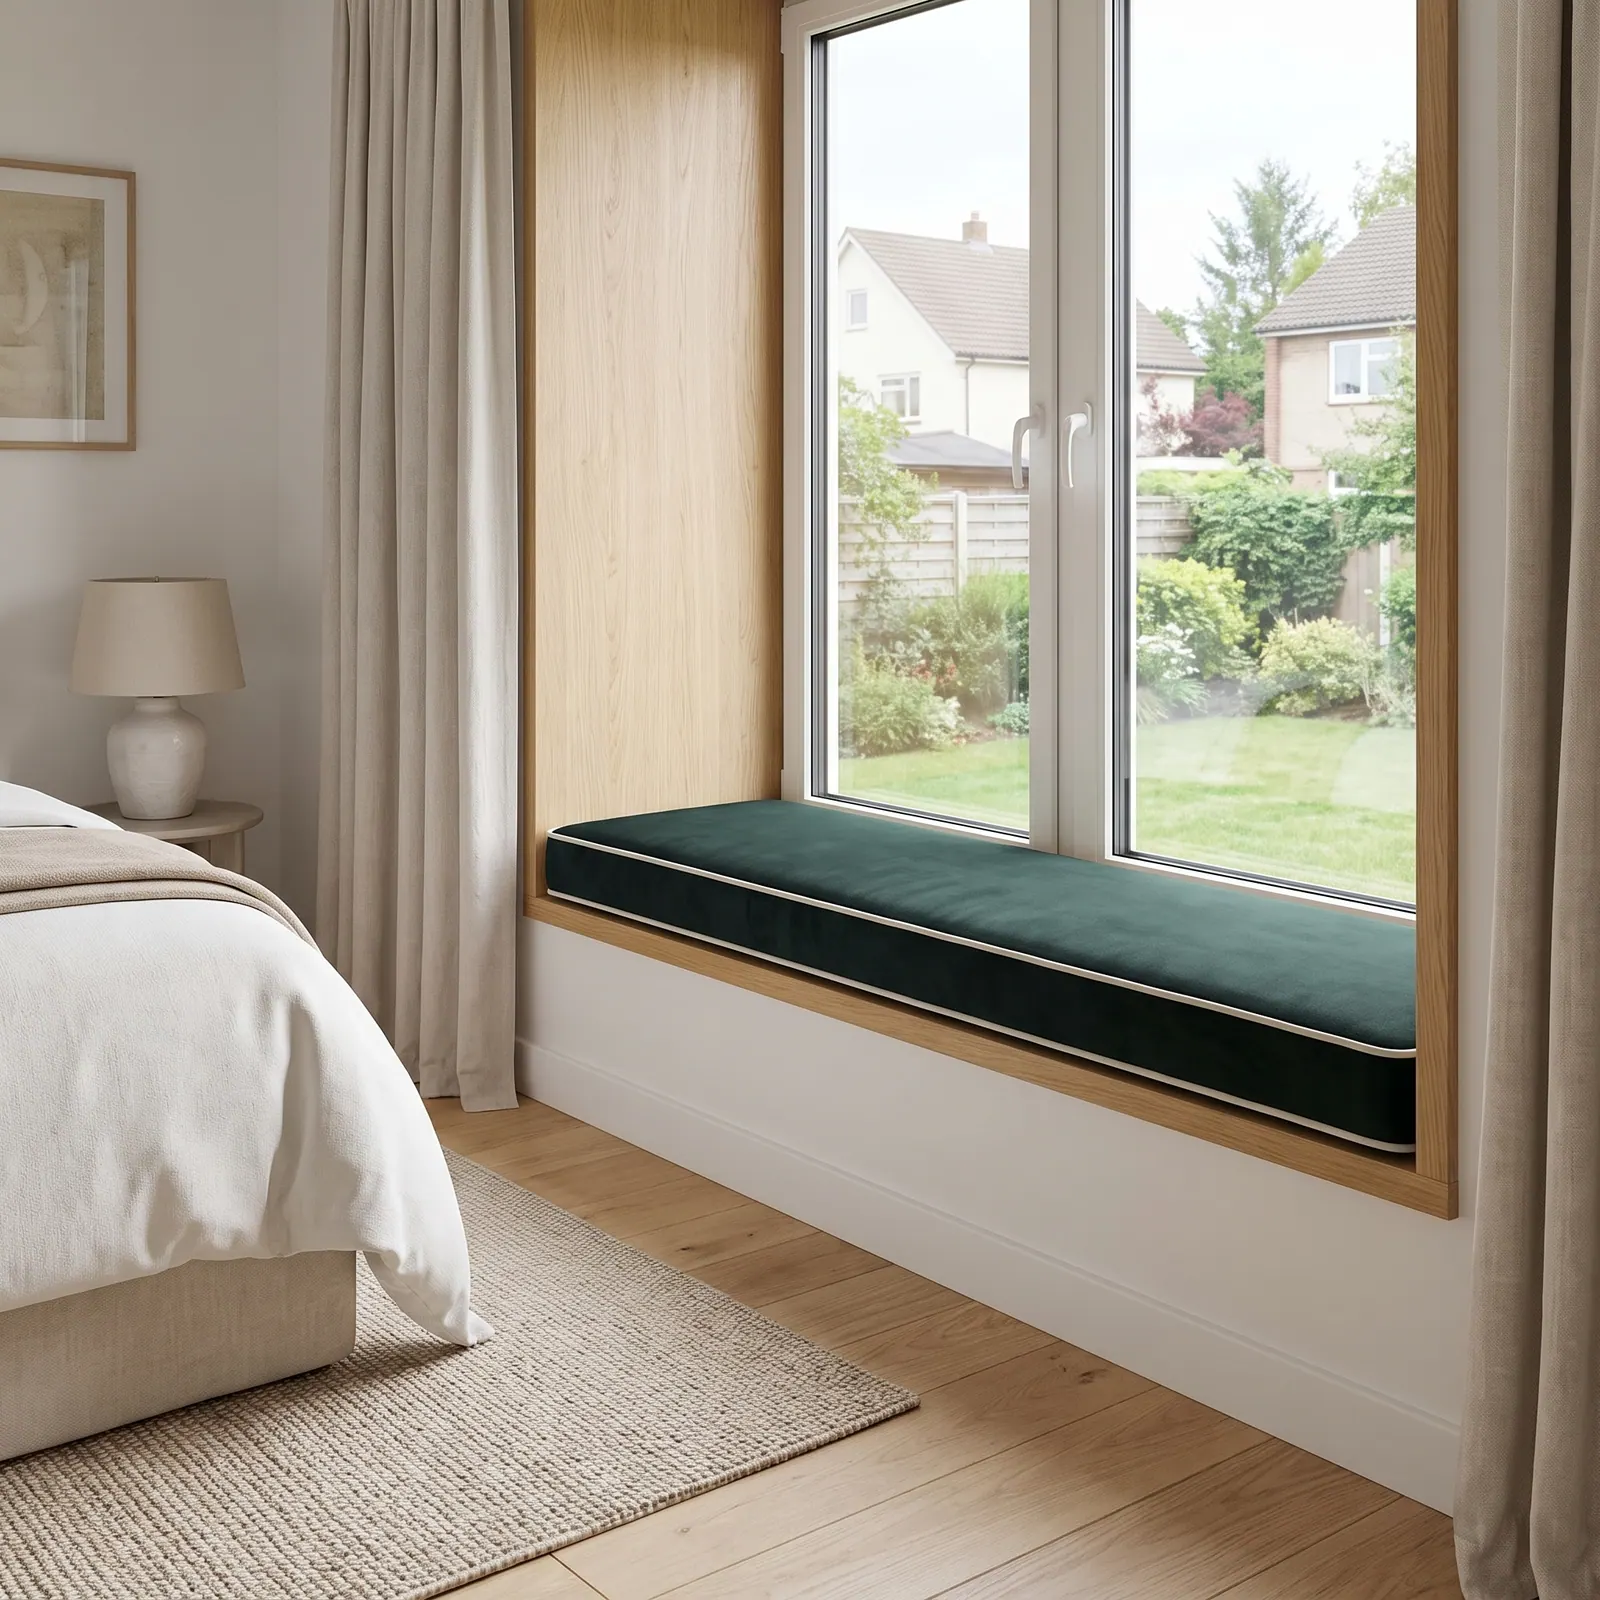 Save
The quick answer
To measure a window seat cushion in an older home, take the width at the front edge and along the back wall, then the depth at the left end, middle and right end, all from the face of the trim and to the nearest 1/8 in (0.3 cm). Order the smallest depth, note which end runs crooked, and measure steps, notches and returns separately.
Why an old window seat takes five numbers, not two
Most window seats in older homes aren't rectangles, even when they look like one from the doorway. Walls lean, sills settle, and the back of the seat drifts away from the front. So how to measure a window seat cushion in an old house comes down to five numbers instead of two: the width at the front and along the back wall, and the depth at the left end, the middle and the right end.
A residential building guideline cited in the trade lets a wall run 1/2 in (1.3 cm) out of line over 32 in (81 cm) and still count as normal. Over a long seat that lean adds up, and a cushion cut to one tidy rectangle can pinch at one end and gap at the other.
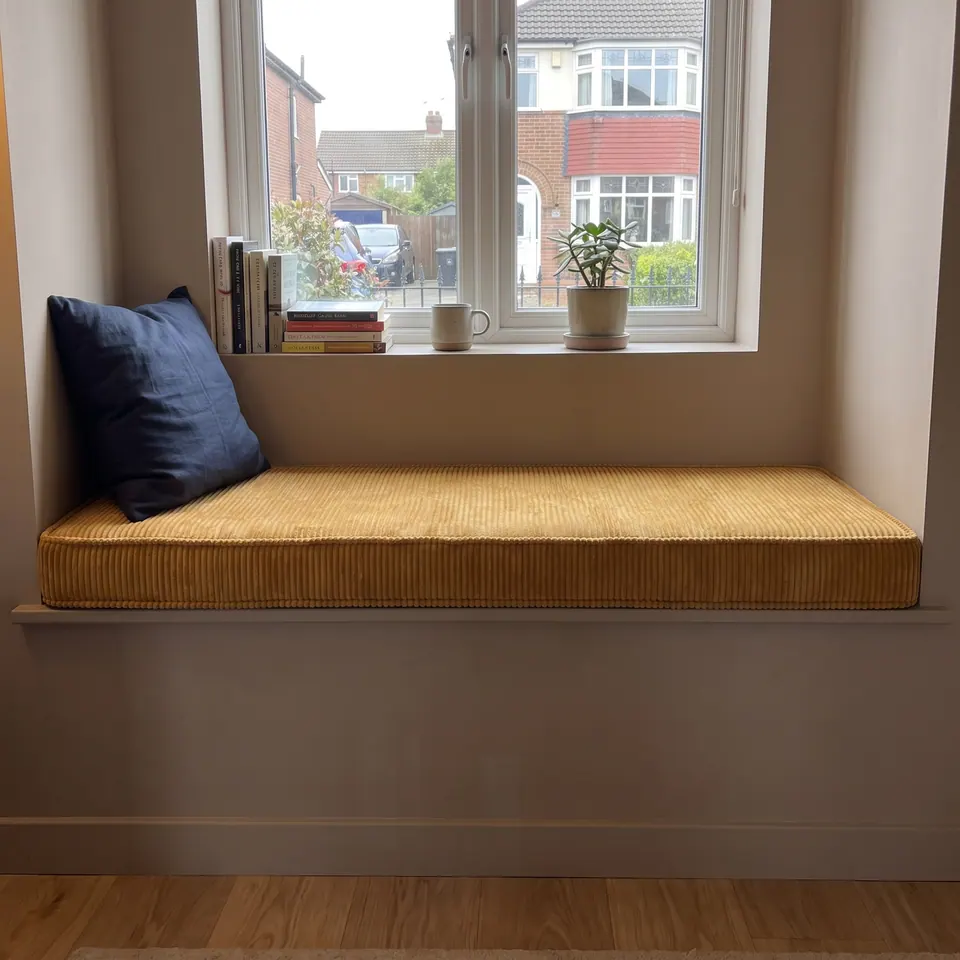
One of the openings we hear most is our house is old and the window is a little wonky. Pull up a chair. Here's how I measure one before anybody shops the window seat cushions.
Measuring an old window seat, one number at a time
Clear the seat and use a rigid tape
Take the cushions, the books and the cat off. Measure the seat top itself, not the floor below it, because the two can differ, and use a rigid metal tape. Read to the nearest 1/8 in (0.3 cm), take every number twice, and type the numbers out even if you photograph the tape; tape photos get misread.
Width across the front edge, wall to wall
This is the long side, left to right, where your knees hang over. Run the tape straight from wall to wall along the front edge. If the seat sits inside a frame or between cabinets, measure the inside, wood to wood, not the outer size of the box. Call it A.
Pattern sheet Front edge measured wall to wall, back edge along the window, and the depth at both the left and right ends. Width along the back wall, from the face of the trim
Now measure the back edge where the seat meets the window wall. It's often shorter than the front. Take it from the face of the window trim, never the glass or the sash; the cushion stops where the trim stops it. If a window casing juts onto the seat at one end, write that down separately. Call it B.
Depth at the left end, the middle and the right end
Depth is the short side, front edge to back wall, and some listings call it width. Hold the tape square to the front edge, at 90 degrees, and take three readings: left, middle, right. In an old house they often don't match. Don't average them. That's D, three times over.
Order the smallest depth and note the crooked end
A cushion cut to the deepest reading has to squeeze into the shallow end, where it bows up or sticks out past the front edge. Cut to the smallest, it sits flat all the way along. Then write which end is shallow and by how much; the workshop can set the depth per section, and that one line saves a remake.
Give steps, notches and returns their own numbers
Anything that isn't straight gets measured on its own: a step where the seat widens, a notch around a casing, a return that turns the seat into a T. For each one, write its width, its depth and its distance from the nearest side wall.
Check both diagonals
Measure corner to corner, front left to back right, then front right to back left. Equal diagonals mean a square seat. Unequal ones mean an out of square window seat and show which way it leans; the workshop draws your cushion to scale and checks that the drawing closes before cutting.
Draw it from above, letter the edges, add a photo
On plain paper, draw the seat as if you were looking down from the ceiling. Letter each edge A, B, C, write every number on its edge with the unit, and add a wide-angle photo of the whole seat. For a curved or badly crooked end, trace it onto paper, cut it out and photograph it flat beside a tape measure.
Pattern sheet Lay paper on the seat and trace the edge, write the widest width and the front-to-back depth on the template, then photograph it flat from directly above with a tape measure in the picture. Choose the thickness last
With the outline settled, pick the height: 4 in (10 cm) is the workshop's standard, and 3 in (7.5 cm) gives a neater, lower profile on a window seat. The window seat thickness Pattern has the rest.
Every window seat measurement on one card
| Measurement | Where the tape goes | What to write down |
|---|---|---|
| Front edge (A) | Wall to wall along the front; wood to wood inside a frame | The exact figure to 1/8 in, not rounded |
| Back edge (B) | Along the window wall, from the face of the trim | Its own figure, even if it matches A |
| Depth (D), three times | Front edge to back wall, square to the front, at left, middle and right | All three, then order the smallest |
| Diagonals | Corner to corner, both ways | Both figures; unequal means out of square |
| Steps and notches | Each one on its own | Width, depth and distance from the nearest side |
| Thickness (T) | Chosen, not measured | 4 in (10 cm) standard, 3 in (7.5 cm) for a lower profile |
Stepped seats, T-returns and the casing that pokes in
Some old window seats refuse to stay rectangular: a cabinet pushes the seat out, a column splits it, a thick casing sits on it like a doorstop.
A stepped window seat cushion is cut exactly from a marked-up drawing, and the drawing has to add up. One buyer's sketch showed a 31 in (79 cm) top plus two 2 in (5 cm) steps, which makes 35 in (89 cm), while the bottom edge said 37 in (94 cm). Either each step was 3 in or the bottom was 35 in, and nothing could be cut until somebody knew which.
T-shapes depend on size. A small inverted T-shaped cushion is made from a sketch showing every dimension and where the cut-outs sit. Big T-shaped seats wrapped around columns are split instead: three T-shaped seats became six simpler pieces. Casings and posts have their own Pattern, notched cushions around posts and casings, and more old-house shapes are sketched in notched window seat cushions.
Eighty-seven inches of taupe velvet and two small notches
A buyer in the US came back to the workshop for a third cushion, and this one had some character. The seat was 87 in (221 cm) long and 18 in (46 cm) deep, with a small notch at each end.
The workshop asked for a paper drawing with every edge measured, then drew its own diagram to confirm it: 87 in along the straight window edge, 84.5 in (215 cm) on the opposite edge, notches of 1.25 x 2 in (3 x 5 cm) at both ends, and the depth dropping to 16 in (41 cm) at the ends. You can check it on your fingers. Two 1.25 in notches take 2.5 in off 87, which leaves 84.5, and 2 in off 18 leaves 16. The drawing closed.
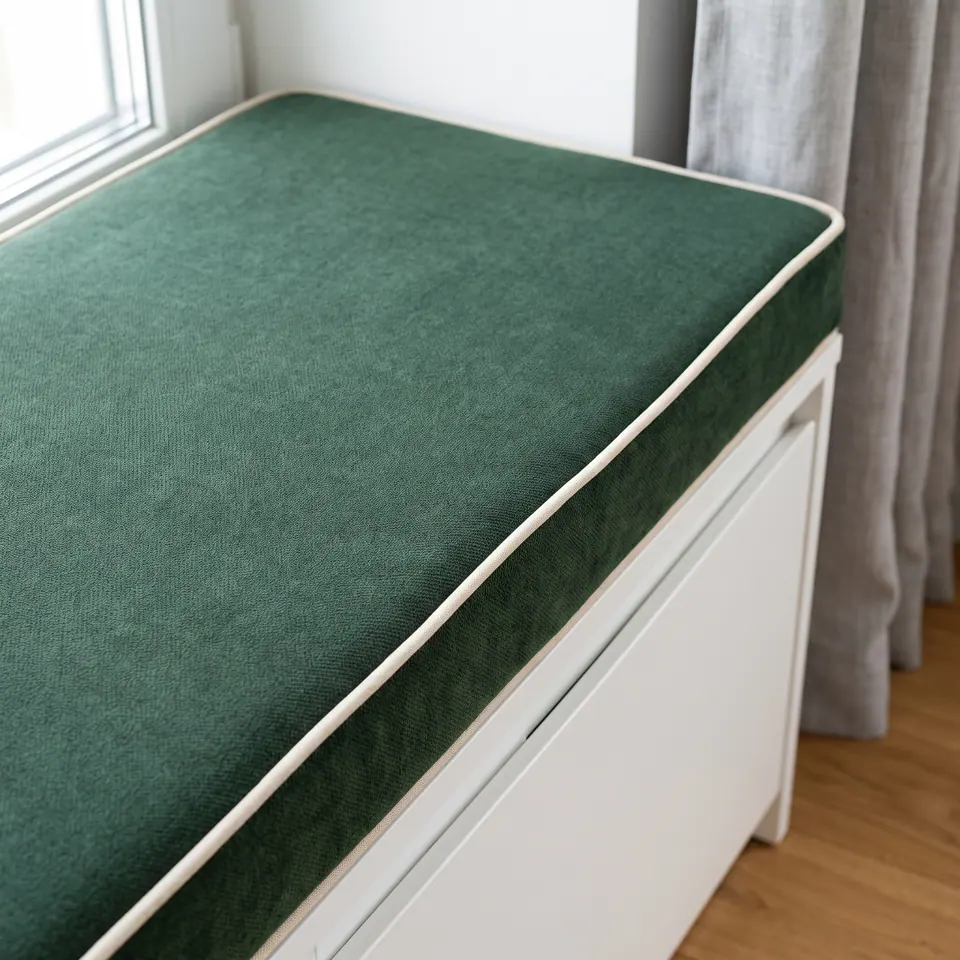
The buyer confirmed it, chose 3 in (7.5 cm) thickness in taupe velvet with cream piping, and only then did anybody pick up the shears. The lesson I'd tape to every window frame: confirm a notched shape on the maker's diagram before anything is cut.
A window seat cushion stops at the face of the trim, not the glass. Measure trim to trim to the nearest 1/8 in, and type the numbers out.
Rosa Delgado
Where old-house window seat measurements go wrong
- Depth taken along a slanted side. An angled side is always longer than the true depth; hold the tape at 90 degrees to the front edge.
- A short straight return left off the sketch. Label every edge, even the stubby ones, or the shape can't close.
- Steps that don't add up. The steps plus the short edge must equal the long edge before anything is cut.
- Letters that point to different edges. Check that your A is the maker's A, and approve the scale drawing before cutting.
- The glass instead of the trim. The cushion stops at the face of the trim, so the tape should too.
- A snug cushion with nothing to grip. A cushion cut exactly to a shallow window seat can slide; ask for a non-slip base or ties.
Try your window seat in the Studio first
Before you settle on a window seat cushion size, put your numbers into the bench cushion builder. It draws your seat in 3D, letters every edge and writes a cutting ticket in inches and centimeters. If your back edge came out shorter than the front, try the trapezoid shape and compare its slanted sides with your tape.
Long seat? The workshop recommends keeping each piece to about 79 to 91 in (200 to 230 cm) and often suggests equal pieces beyond that. Over a radiator, two pieces let heat escape and lift out easily: one buyer's 106 x 15 in (269 x 38 cm) ledge became two 53 x 15 in (135 x 38 cm) cushions. The split rules are in the one piece or two Pattern, and a seat that doubles as a reading nook follows the same tape.
So tell me, neighbor: what does your seat measure at the left end, and what does it measure at the right?
Clearance up to the window hardware
Find the lowest obstruction
Look above the seat for the sill, trim, a crank, a lock, a handle or a sash that swings inward.
Measure straight up
From the bare seat, not the old cushion, to that lowest point.
Subtract the cushion
What's left is your clearance; a cushion that fills it completely will rub the hardware.
Count the back cushions
Backs leaning under the window must clear it too, and they take roughly 4 in of seat depth.
Go thin if you must
Exact 2 in (5 cm) cushions are made so a window can still open; thinner pads are possible but barely supportive.

Have it made
Measured it? Have Rosa’s workshop make it
Every good cushion I know started with a long porch chat. This is the short version: leave your number and the workshop will call. — Rosa
Leave your details and the workshop will call you to confirm measurements, fabric, foam and piping. No prices, dates or payment on this page: it is a request, not an order.
Buyer questions: crooked walls, casings and long seats
- A common question
Our house is about 120 years old and the window seat is a little wonky. What happens if my numbers don't add up?
The workshop's answerThe workshop draws every shaped cushion to scale and checks that the drawing closes. If it doesn't, you'll be asked to re-measure specific edges, measure both diagonals or send a wide-angle photo, and you can get a blank outline lettered A, B, C to fill in. A drawing that closes within 1/4 in (0.6 cm) is accepted, and nothing is cut until you confirm.
- A common question
The window trim sticks out into the seat at both ends. Can the cushion be cut around it?
The workshop's answerYes. Draw the cushion and mark each notch's width, depth and position along the edge, then add a few wide-angle photos of the seat. The workshop redraws it as a clean template and asks you to confirm before cutting. If a notch sits on the back edge, say so, because the zipper runs along the back.
- A common question
My seat is an odd shape and there's a bit of wood sticking out. How should I send the measurements?
The workshop's answerPhotograph the space and draw it on paper with every side measured and labeled A, B, C and so on. Mention any trim or wood that sticks out, and give the narrowest and widest points if the space is uneven. For a back cushion, add the wall height above the seat. The workshop asks about any missing side, then sends its own drawing and waits for your OK.
- A common question
My window seat runs more than 90 inches. Should the cushion be one piece or two?
The workshop's answerFor very long seats the workshop suggests equal pieces for fit, durability and easier handling, such as 92 in (234 cm) as two 46 in (117 cm) cushions, or a 197 in (500 cm) nook in three. Each piece is ordered as its own item. One piece can still be made on request, so send a photo and your measurements for advice.
- A common question
How close to my numbers will the finished cushion be, and does the piping count?
The workshop's answerCushions are cut to the exact figures you give, not rounded, but a handmade foam cushion can vary by roughly 1/2 to 1 in, and a fully tufted one by 1 to 2 in. Piping adds a little to the outer size, so measure the seat itself and say if the finished size must include the piping.
- A common question
Part of my window bench sticks out farther than the rest. Can the cushion follow that step?
The workshop's answerYes. Stepped shapes are made exactly from a marked-up photo or drawing, for example 66 x 11 in (168 x 28 cm) widening to 67.5 in (171 cm), with 6.5 in (16.5 cm) more depth where the bench comes out. Check the edges add up, then order with Length as the longest edge and Depth as the depth from that edge, upload the drawing and give the thickness.
Short answers for old-house window seats
Do I measure a window seat to the trim or to the glass?
To the trim. Take every width from the face of the window trim, because that's where the cushion stops. If a casing juts onto the seat, don't shorten the whole cushion for it; measure it as a notch with its own width, depth and distance from the side wall.
How thick should a window seat cushion be in an older home?
The workshop's standard is 4 in (10 cm), and 3 in (7.5 cm) gives a neater, lower profile on window seats. Check what sits above the seat first: one buyer chose 2 in (5 cm) because an air-conditioning unit limited the height on one sill.
Where does the zipper go on a notched window seat cushion?
On the back edge facing the window, or on the underside if you prefer, at no extra cost. If your notches sit on the back edge, mark that clearly on the drawing, because the zipper normally runs along that edge and the workshop needs to know before cutting.
Will a snug window seat cushion slide around?
It can. A cushion cut exactly to a narrow seat has nothing to grip, so it can move when you sit down. Ask for a non-slip base or fabric ties sewn into the seams; the options are compared in the stop-the-slide Pattern.
Can I see my custom cushion measured before it ships?
Yes. Every cushion is measured after sewing, and every order is photographed before shipping. Ask for those photos, including ones that show the measurements of a custom shape, and you can check the notches and depths against your own drawing.
How much clearance do I need under window handles or a crank?
Measure straight up from the bare seat to the lowest thing that has to clear: the sill, the trim, a crank, a lock or a sash that swings inward. The cushion, plus any back cushion leaning there, must stay under that number. If clearance is tight, the workshop can make an exact 2 in (5 cm) cushion so the window still opens.
How far below the window should the seat top sit?
One widely read window seat guide suggests keeping the finished seat top at least about 6 in below the window's bottom edge. Where the sill sits lower than that, a thinner cushion is the fix: measure from the bare seat to the sill, subtract the gap you want, and choose the thickness that leaves it. Most tight sills are served by a 2 to 3 in cushion.